Weekend project guides
November projects you can finish this weekend
Each guide lists the time, the skill level and the tools, then walks through the job one step at a time.
Beginner2 hours
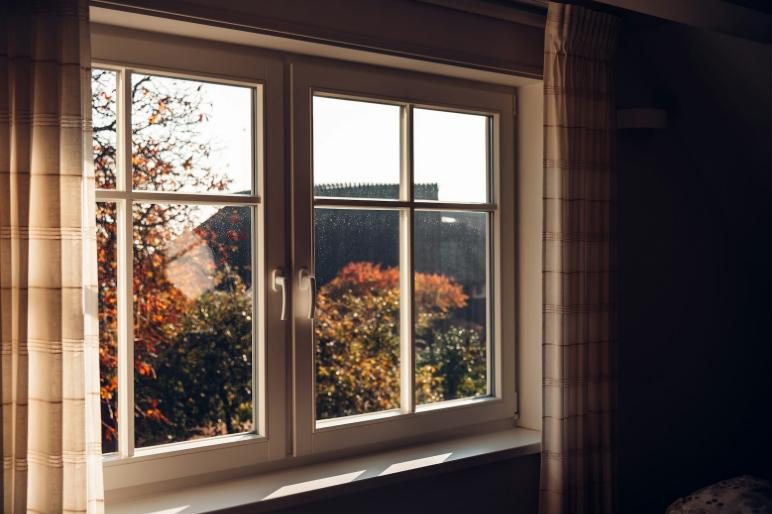
Seal drafty windows and doors
Small gaps around doors and windows let heat out all winter. Weatherstripping and caulk are cheap and quick to install.
Show the steps
- On a windy day, hold a lit incense stick near each window and door frame. Where the smoke wavers, there's a leak.
- Measure each leaky opening with a laser distance measure and add 10% when you buy weatherstripping.
- Clean and dry the frame, then press self-adhesive foam strips around the door stop and window sashes.
- Replace a worn door sweep. If you can see daylight under the closed door, it needs a new one.
- Outside, run exterior caulk along gaps in the window trim. Do it on a day above 40°F so the caulk cures.
Tools: laser distance measure, magnetic LED work lights

Beginner30 minutes
Winterize your outdoor faucets
Water left in an outdoor faucet can freeze, split the pipe, and flood a wall. Thirty minutes now prevents that.
Show the steps
- Disconnect every garden hose, drain it, and store it inside.
- Find the indoor shutoff valve for each outdoor faucet, usually in the basement or crawl space, and close it.
- Go back outside and open the faucet to let the water drain. Leave it open for the winter.
- Cover the faucet with an insulated foam cover.
- Have a frost-free faucet? Still remove the hose, or water trapped in it can freeze back into the pipe.
Tool: magnetic LED work lights for dark crawl spaces

BeginnerHalf a day
Wash the deck before winter
Wet leaves and dirt left on a deck all winter cause stains and mildew. A good wash in fall means less work in spring.
Show the steps
- Clear off furniture and planters, then sweep away leaves.
- Wet the plants around the deck so the runoff doesn't harm them.
- Start with the widest fan nozzle and keep it about 12 inches from the boards.
- Spray along the grain, one or two boards at a time.
- Sealing too? Let the wood dry 24–48 hours and seal while it's still above 50°F. If a sprinkle of water soaks in, it's ready. If it beads up, wait.
Tool: cordless power washer
Beginner1–2 hours
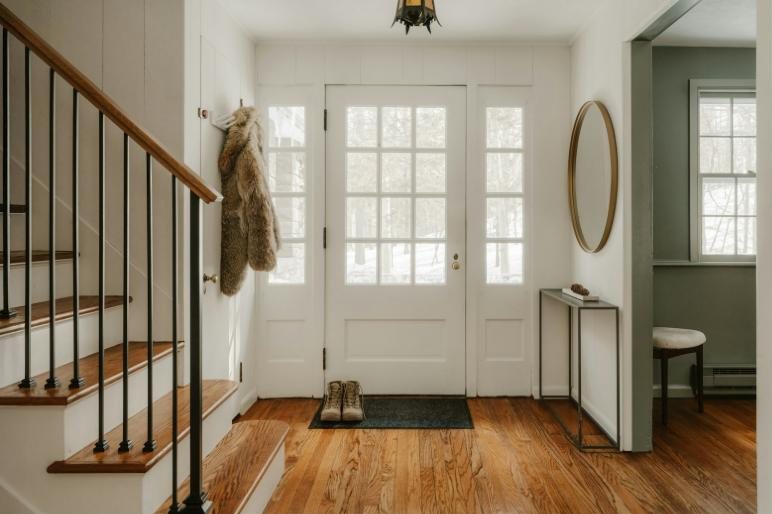
Hang a coat and boot rack by the door
Winter coats are heavy. Screw the rack into the wood studs behind the wall and it won't pull loose.
Show the steps
- Scan the wall with a stud finder. Studs are usually 16 inches apart on center.
- Switch to AC mode and check for live wiring where you plan to drill.
- Project a level line with a laser level, about 60–66 inches off the floor for adult coats.
- Mark the holes on the line, drill pilot holes, and drive 2½-inch screws into the studs.
- Put a boot tray underneath to catch snow and salt.
Tools: 5-in-1 stud finder, 360° laser level
Holiday2–3 hours
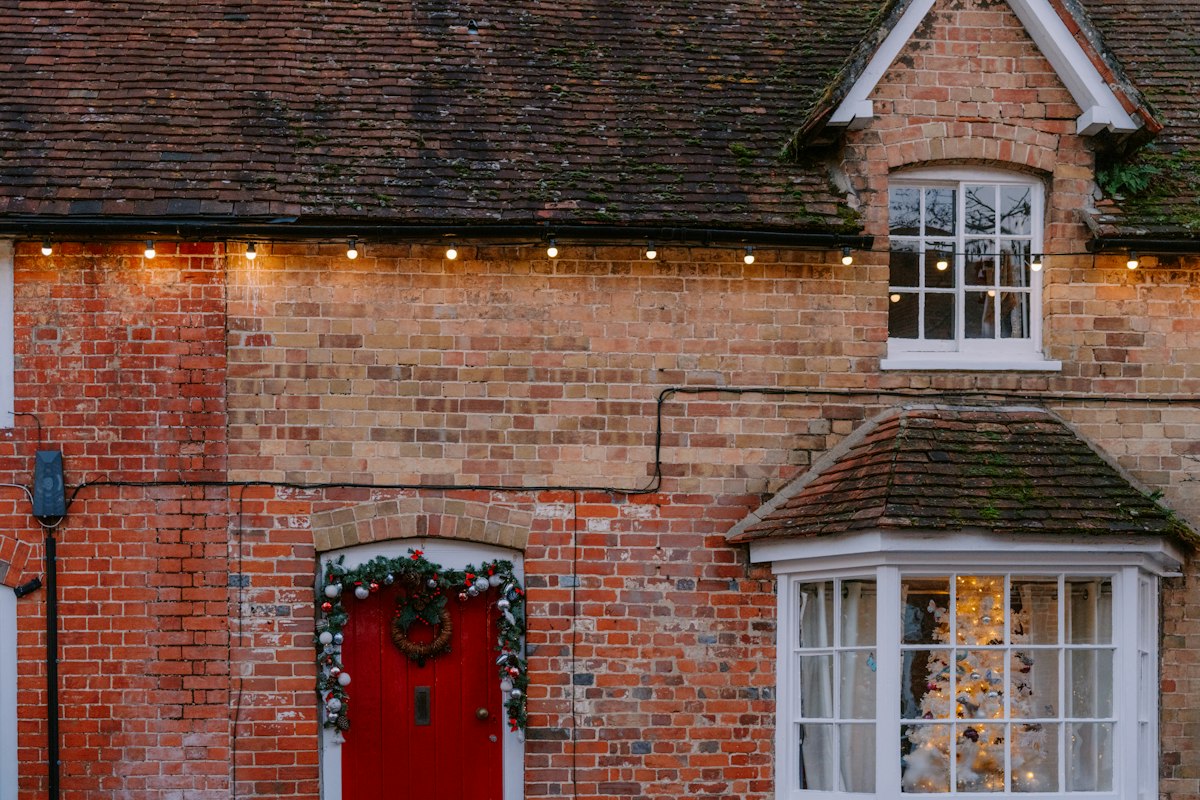
Hang holiday lights straight and safe
Lights along the roofline look best in a perfectly straight line. A laser level and the right clips get it done in one afternoon, with no nails in the siding.
Show the steps
- Test every strand on the ground first and replace bad bulbs before you climb.
- Use only lights and extension cords rated for outdoor use, plugged into an outdoor GFCI outlet.
- Set the laser level on its tripod and shine a line along the gutter or trim so the lights hang straight.
- Clip the strand on with plastic gutter or shingle clips every 12 inches. Keep a helper at the bottom of the ladder.
- Put the lights on an outdoor timer so they shut off overnight.
Tools: 360° laser level, magnetic LED work lights
HolidayAn afternoon
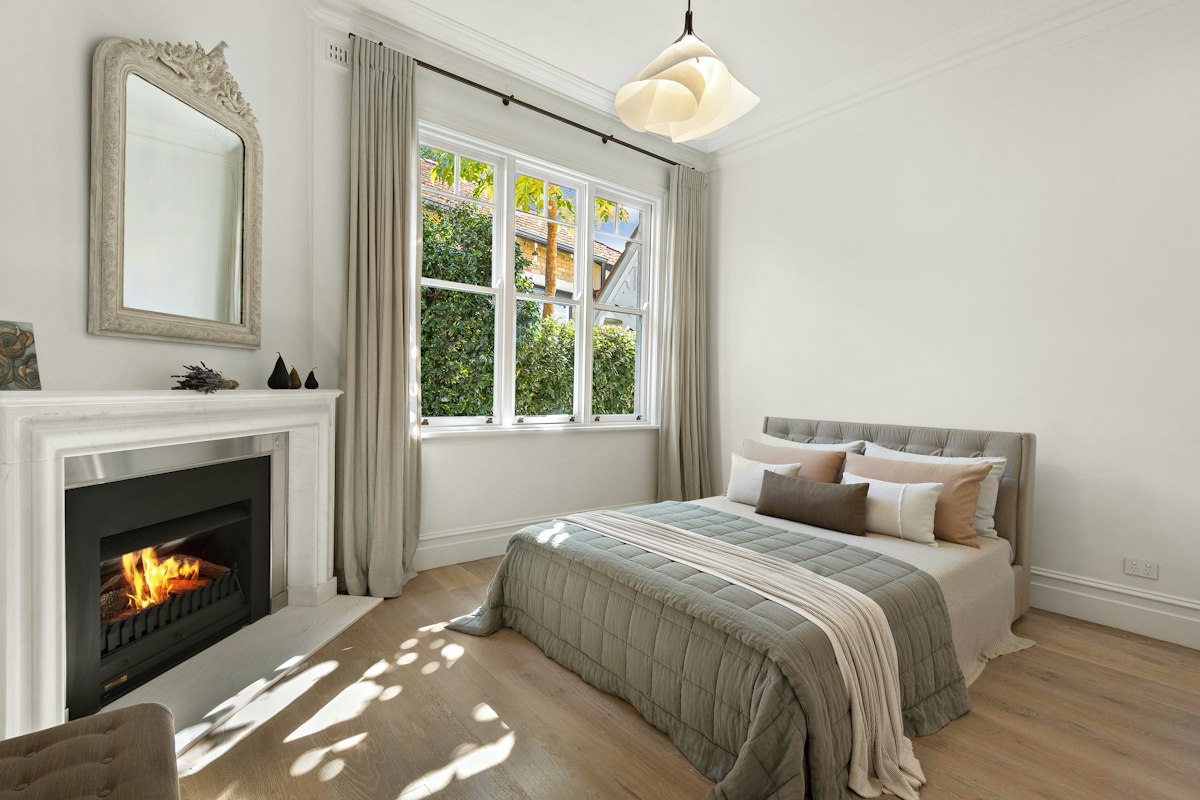
Get the guest room ready
Holiday guests need a place for their coats and bags. Put together the new bed frame or nightstand, then hang a shelf and hooks that will hold up.
Show the steps
- Clear the room and lay out all the furniture parts and hardware before you start.
- Assemble the bed frame, nightstand or luggage rack with a cordless screwdriver on a low setting so you don't strip the screws.
- Use a stud finder to mark the studs where the shelf and coat hooks will go. It also warns you about live wires.
- Screw the shelf brackets and hooks into the studs. Use wall anchors only for light items.
- Add a lamp, a spare phone charger and an extra blanket, and the room is ready.
Tools: cordless screwdriver kit, 5-in-1 stud finder